-
Letterbox Sentiments Giveaway!
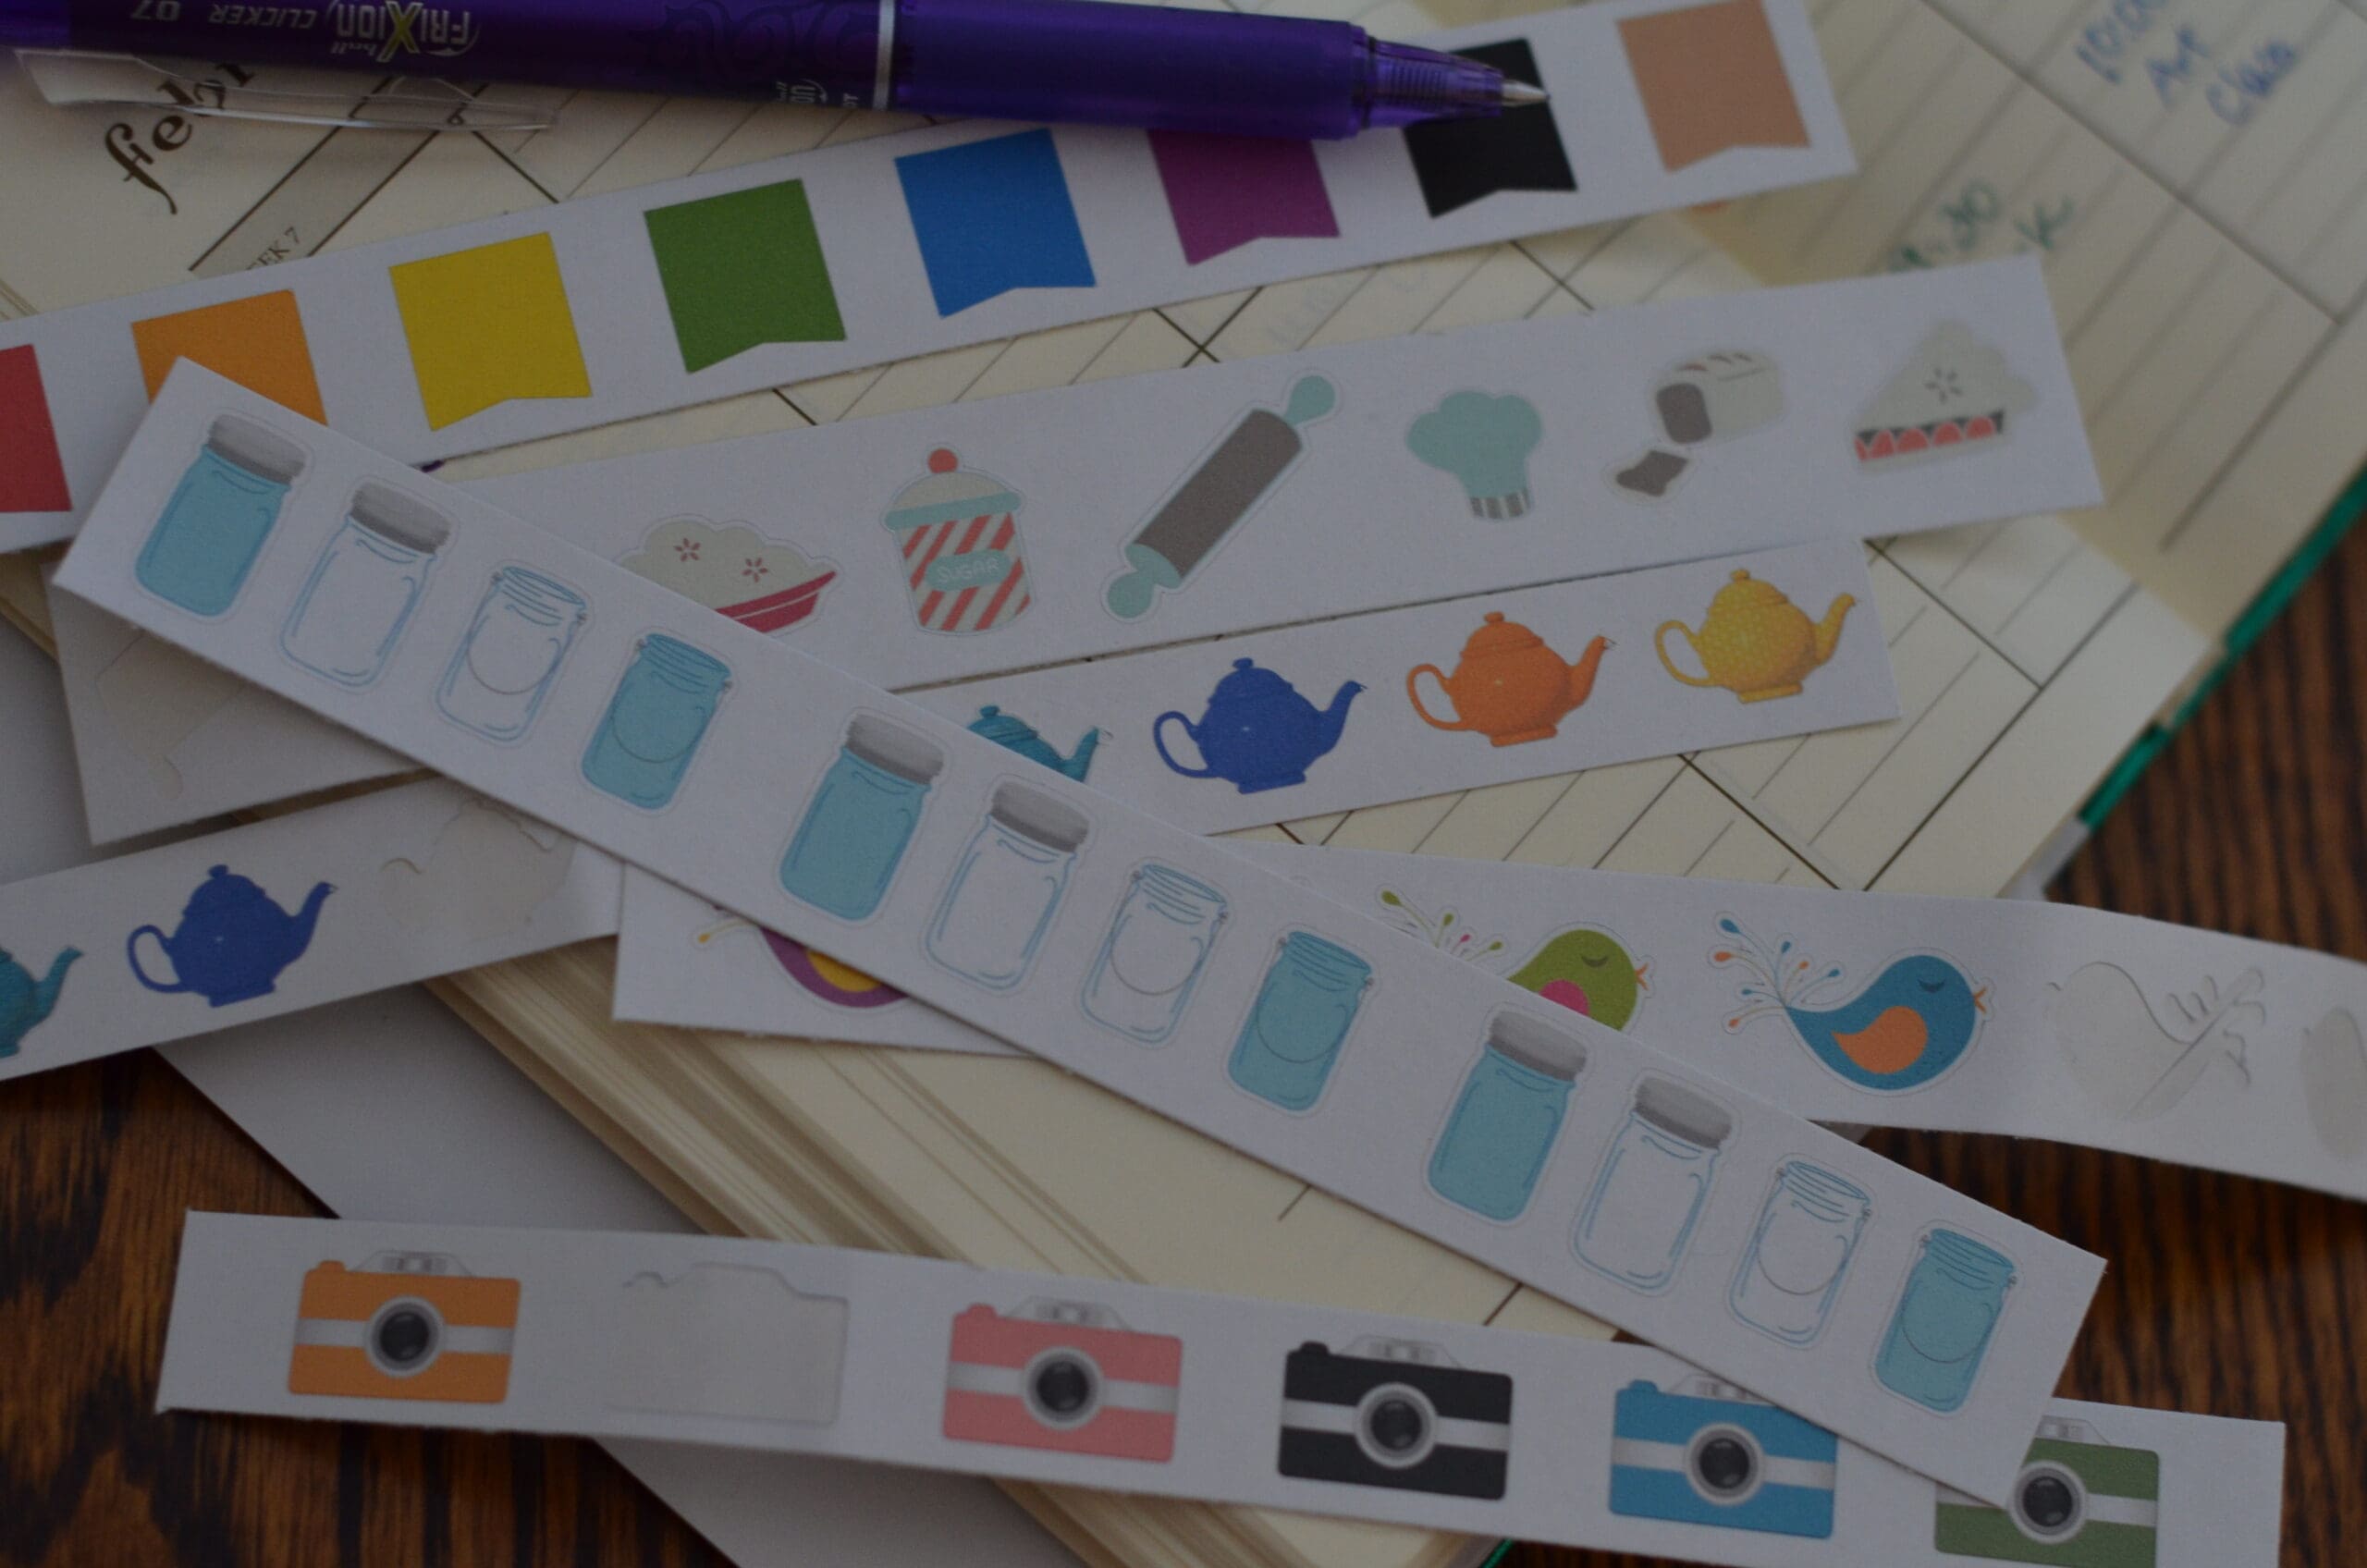
Even though I use my iPad for everything; my phone is with me constantly I still use a regular paper day planner. I have to see everything all at once. Writing things out long hand also keeps me more organized. I stay more focused on the tasks at hand when I can see my work cut out for me. What can I say as far as a calendar goes I’m old school. I also NEED my day planner to be cute! I enjoy using different pen colors and stickers. I know… I’m such a geek. I just like the cute little touches. They make me smile. Might as well smile when I am faced with a mountain of work!! These cute little stickers from Letterbox Sentiments are fun handmade stickers are designed to help anyone who is an avid planner and or organizer keep track of their daily tasks. In a fun and cute way!! These little stickers are a quick, simple, and colorful way to organize to-do lists and general day-to day responsibilities. They are not only a fun way to spruce up your daily planners, but they can be used as embellishments for any scrapbook or any craft…
-
eBoot 5000mAh Solar Panel Charger Review
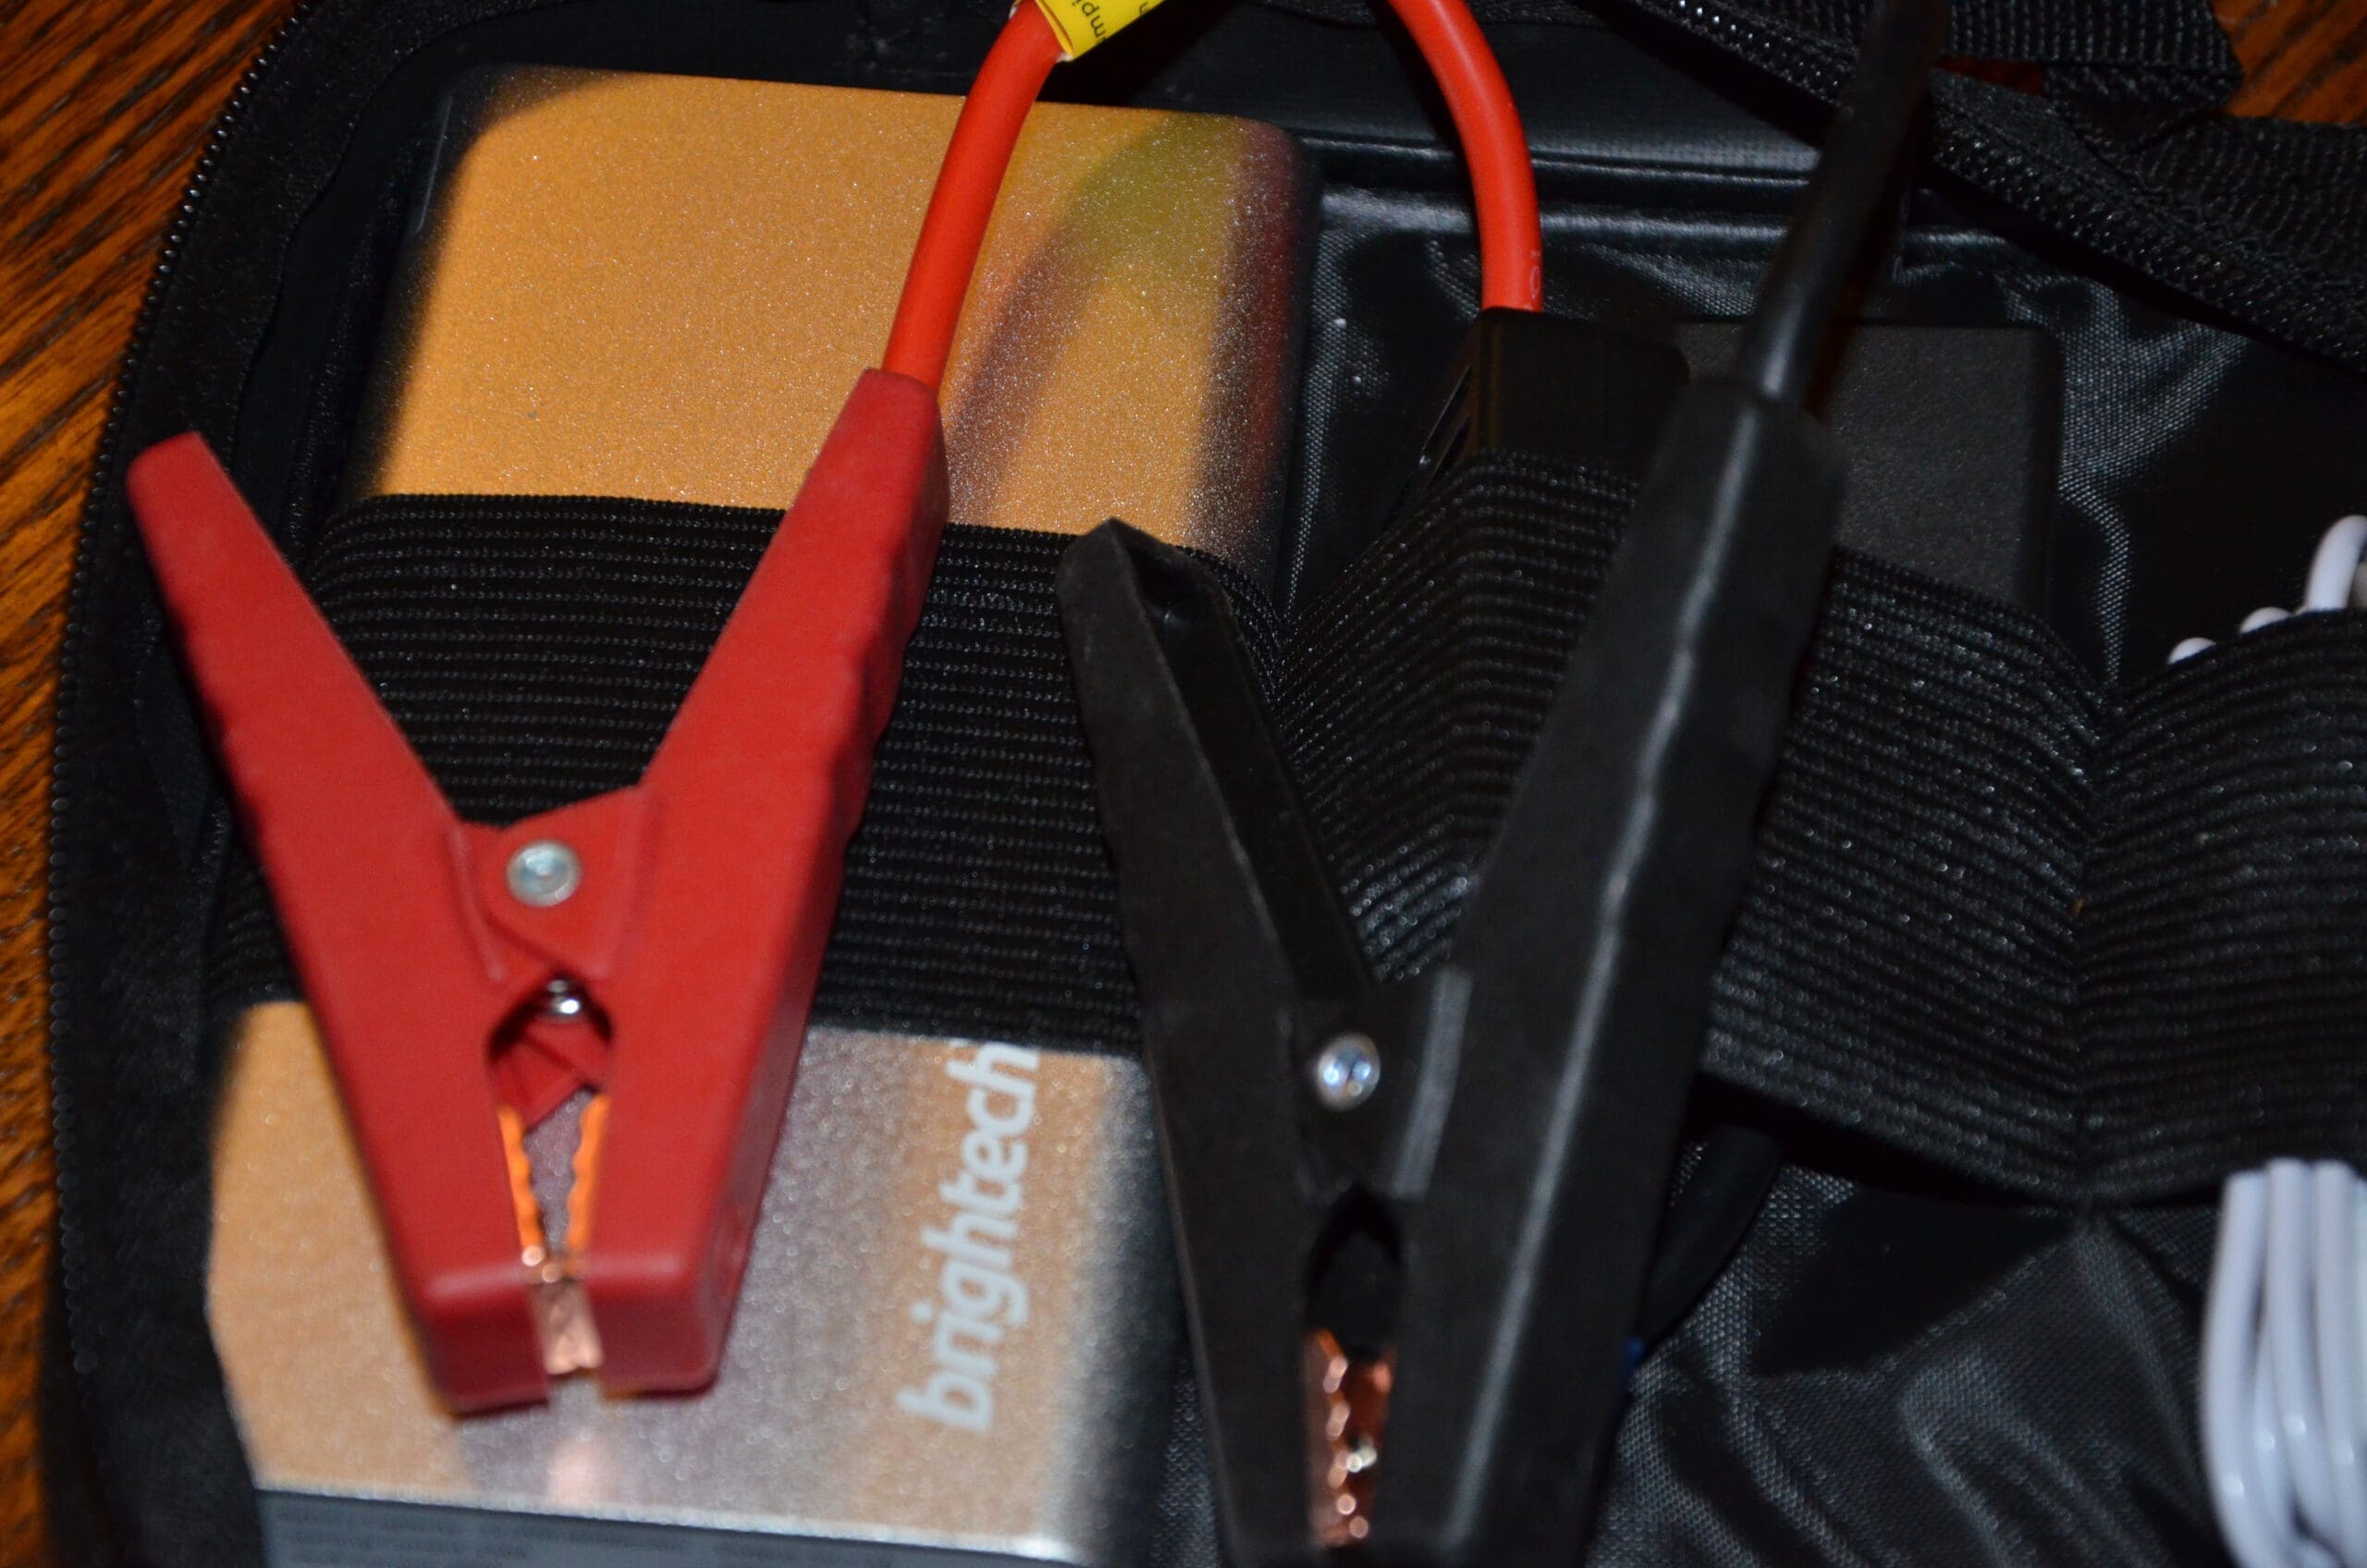
Finally, a charger I can take camping with me that doesn’t require me to start my car!! I couldn’t be more thrilled with my new eBoot Solar Panel Charger! Not only does my solar charger charge all of my electronics from my iPad4, Samsung Galaxy S4, and my Kindle. I love the rugged look of the eBoot Solar Charger! It’s rainproof! Waterproof and dustproof! PERFECT for camping in Yosemite! Trips to the beach or a day at the park. Since it is so rugged and compact it’s easy to attach to my backpack for camping and since it’s solar I will always have a fully charged charger while I’m hiking!! When we aren’t out camping or hiking the eBoot fits easily into my purse; it’s only 5.6″ by 3″ and only 0.6″ thick. The eBoot Solar Panel Charger is a Grade A cell, Built-in 5000mAh Lithium Polymer battery that charges via a powerful 1.2W monocrystalline solar panel; 2.1A output allows for simultaneous charging of your devices at high speed; Anti-explosion, lightweight, compact, and reliable. MORE TO LOVE The charger has a built in LED flashlight!! Press the on button twice and and voila! You have light!! What’s in the box?…
-
Dead Mentors Book Review
Dead Mentors by Sandra Nichols has to be the most unique and interesting book I’ve read in a very long time!! Dead Mentors is so unique and thought-provoking I hope I can do it justice in this review. This book is nourishment for the soul and food for the brain. This is a book that will truly make you think. Dead Mentors is told from three different points of view. Blended together so expertly!! Dead Mentors is narrated by Dr. John Burns, a clairvoyant therapist. Although Dr. Burns only meets Sophia once he watches her life unfold by channeling her psychically. This is by far the most interesting book I’ve ever read. You get to follow Dr. Burns, Sophia and Sophia’s family. Including her mother’s ghost. Sophia is a lonely South Florida healthcare manager; she hates where she works, she has tons regrets, and failed ambitions. After a reading with Dr. Burns; Sonya leaves the reading, disappointed with Burns’s forecast. Not only do you learn about Dr. Burns and his life but; Sophia’s two sisters, her ailing father, and her mother, who died of cancer years before. It’s so fascinating reading about Sophia’s journey through the eyes of Dr. Burns. During a…
-
The Art of Gift Wrapping With Ribbons!!
Creating a hand-tied bow or ribbon is the ideal way to top off a gift for any occasion. There are a wealth of methods for creating luscious and beautiful designs using all types of ribbons and bows. With a few techniques at your side for gorgeous creations, you can begin to explore the vast art of bow and ribbon creation. Embracing the Classics The archetypal bow that adorns the most picturesque of gifts should be a standard bow that you have in your arsenal of decorating skills. The cherry-form loops and flowing tails give you a crisp and clean appearance that everyone loves. Begin by creating two loops on either side of the ribbon, crossing the right loop over the left. Create your knot by crossing the right loop with the left in the following directions: behind, under, and up through the resulting knot. Use caution in order to avoid bunching the ribbon in the process. Finally, pull the loops out towards the edges in order to create your final knot. Adjust the loops with your fingers, topping off the final product by cutting two notches in the ribbon tails. The Figure-Eight Ribbon This approach puts a modern twist on…